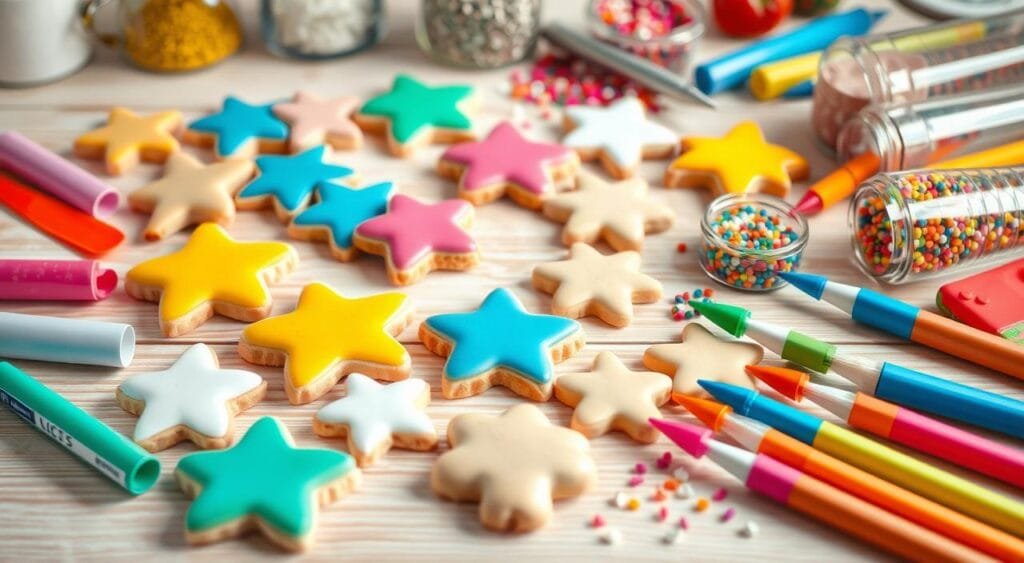
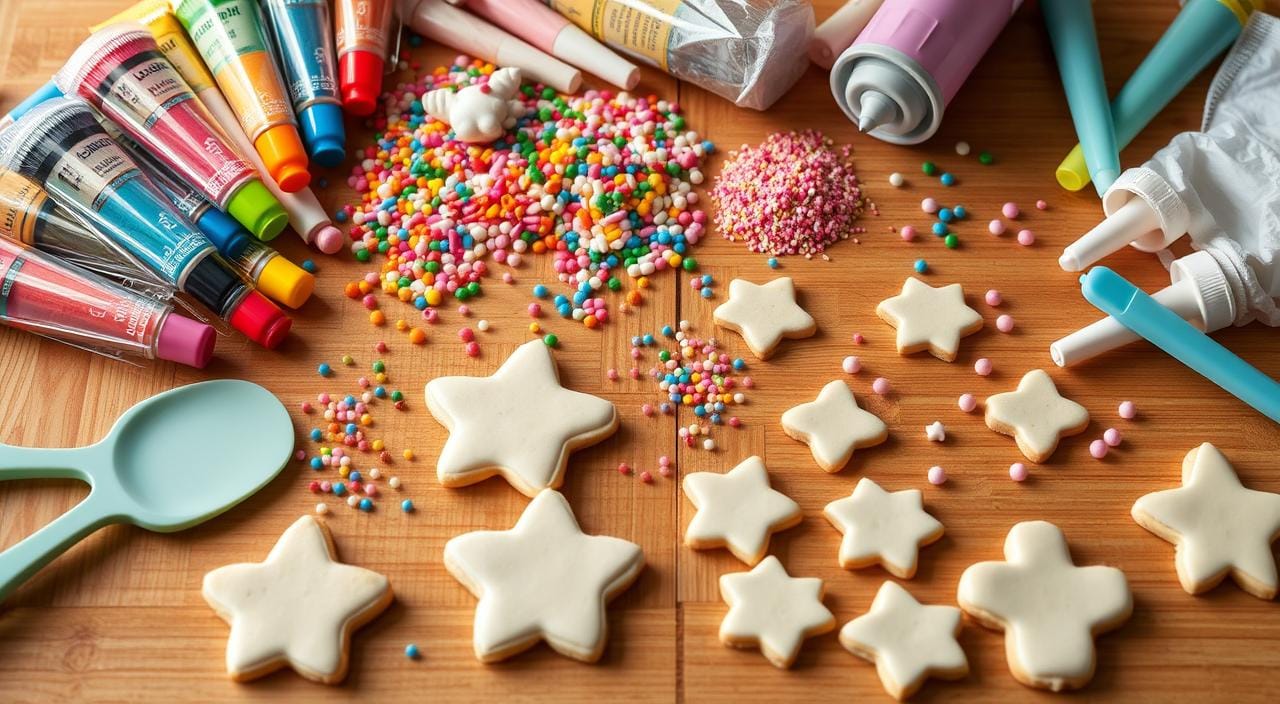
Decorating cookies brings back happy childhood memories. It fills our hearts with joy and nostalgia. Whether you’re an expert baker or just starting, a cookie decorating kit lets you express your creativity. You can make treats that will impress your family and friends.
Imagine the fun of baking cookies together. The kitchen smells amazing, and you have lots of colors and decorations. A good kit lets you make cookies that are truly special. They’re perfect for any celebration, big or small.
Are you a parent looking for fun activities? Or maybe you’re planning a party or just want to improve your baking? A cookie decorating kit is a great choice. It helps you make treats that everyone will love. Start decorating cookies and discover a world of tasty creativity.
Understanding Cookie Decorating Kit Essentials

To improve your cookie decorating skills, you need the right tools and supplies. A good cookie decorating kit should have baked cookies, icing, food coloring, sprinkles, piping bags, and decorating tips. Using quality materials is key to getting the best results.
Basic Components Every Kit Should Include
Make sure your cookie decorating kit has the basics. Royal icing gives a smooth, glossy finish that dries hard. Gel food coloring lets you add bright colors to your icing. Sprinkles and other decorations add texture and look.
Quality Standards for Kit Materials
For beautiful cookies, focus on the quality of your supplies. Choose high-quality icing tools like strong piping bags and many decorating tips. Use trusted brands like Wilton and Chefmaster for food coloring.
Storage and Shelf Life Considerations
Storing your cookie decorating kit right is important. Store baked cookies in airtight containers to keep them fresh. Royal icing and decorations should be in sealed packaging to stay fresh. Always check expiration dates to keep your supplies in top condition.
Selecting the Perfect Cookie Base for Decorating

Creating beautiful treats starts with the right cookie base. You can choose from sugar cookies, gingerbread cookies, or chocolate sugar cookies. These are tasty and keep their shape well, perfect for decorating.
Best Cookie Recipes for Decorating
Use a tested royal icing recipe for your cookies. Make sure to roll them out evenly and bake on flat sheets. This helps them bake consistently without warping.
Proper Cooling and Storage Methods
Keep your cookies fresh by cooling and storing them right. Bake them 2-3 days before decorating. Store them in airtight containers at room temperature. This keeps them firm and ready for decorating.
Tips for Achieving Ideal Cookie Texture
Choose a no-chill, no-spread cookie recipe for the best results. These cookies hold their shape well, making them perfect for decorating. With the right cookie and care, your treats will be a hit.
Professional Icing Techniques and Tools
Decorating cookies is all about the right icing and tools. You’ll find two main types: royal icing and easy cookie icing. Royal icing dries fast, while easy cookie icing is softer and takes longer.
To get bright colors, use gel food coloring. It keeps your icing smooth and lets you make bold colors. You’ll need piping bags, piping tips like Wilton #4, and couplers to connect them.
Start with a 20-second consistency royal icing. It should flow like a ribbon. Use about 1 ounce of icing per cookie to avoid waste.
Learning these royal icing and easy cookie icing techniques will make your cookies look amazing. They’ll impress everyone you share them with.
Getting Started with Cookie Decorating Kit Supplies
Start your cookie decorating journey with creativity. Use the right decorating tools to turn simple cookies into works of art. Essential supplies are key to your success.
Essential Decorating Tools
Begin with the basics. You’ll need piping bags or squeeze bottles, decorating tips, and tools like toothpicks or plastic knives. Disposable or reusable piping bags work well with tips like Wilton #4. Squeeze bottles are great for beginners. Remember to have lots of sprinkles for the final touch.
Types of Frosting Bags and Tips
Choose between disposable and reusable frosting bags. Disposable ones are easy to clean, while reusable ones are better for the environment. Try different decorating tips like round, star, or leaf to create various patterns.
Specialty Items for Advanced Designs
As you get better, try new things. Get different tip sizes, scribe tools, or edible markers for unique designs. With practice, you can make amazing, professional-looking cookies.
Color Theory and Food Coloring Basics
When decorating cookies, gel food coloring is the top pick because it’s so concentrated. Brands like AmeriColor and Wilton have lots of bright colors. These colors can turn your cookies into stunning pieces of art. Gel coloring doesn’t change the icing’s texture, unlike liquid coloring.
Learning to mix colors is key for making unique shades and designs. Start by understanding color theory. Learn about primary, secondary, and tertiary colors. Try mixing Preppy Pink and Outrageously Orange to get a gorgeous Coral color.
Remember, a small amount of gel food coloring is enough. Start with a tiny drop and add more slowly until you get the right color. Stick to 3-4 colors for each decorating kit. This keeps your designs simple and beautiful.
Whether you’re new or experienced at decorating cookies, using gel food coloring and color theory can make a big difference. Be creative, have fun, and show off your skills in every cookie you decorate.
Working with Royal Icing and Fondant
Decorating cookies with royal icing and fondant is an art. Royal icing gives a smooth, glossy look. To get the right consistency, aim for a 20-second drip back into the bowl. This makes it easy to pipe and control.
Mixing Perfect Consistencies
To get the right royal icing, mix confectioners’ sugar, meringue powder, and water. Use a 20-second drip back consistency. Don’t use oil-based food coloring, as it slows drying. Mix on low to medium speed to avoid air bubbles.
Using a coupler in your piping bag makes switching tips easy. This helps with your design.
Troubleshooting Common Issues
If your royal icing gets too thick or separates, add a few drops of water. Remember, humidity can slow drying. Use a AAXA Pico Projector for detailed designs and stencils for patterns.
Fondant needs kneading and rolling to the right thickness. Air bubbles or cracking can be fixed with a JEM Dresden & Veining Modelling Tool and controlling humidity. The right fondant decoration adds elegance to your cookies.
Mastering royal icing consistency and solving icing troubleshooting issues leads to stunning cookie designs. These will wow your guests.
Creative Sprinkles and Edible Decorations
Get creative with sprinkle mixes, edible decorations, marshmallows, and candy toppings in your cookie kit. These fun ingredients help make plain cookies into magical creations. You can choose from classic rainbow sprinkles or special ones like crushed candy canes.
For a great kit, pick a mix of sprinkle mixes that work for many designs. Favorites include bright jimmies, mini chocolate chips, and mini M&Ms. Marshmallows are also a hit, bringing joy to both kids and adults. For special occasions, add themed edible decorations like holiday shapes or animal sprinkles.
By choosing the right sprinkle mixes, marshmallows, and candy toppings, your kit will offer endless fun for all bakers. It’s all about finding the perfect mix of essentials and fun, themed items.
“The right edible decorations can turn a simple cookie into a work of art!”
Step-by-Step Cookie Decorating Process
Start your cookie decorating adventure with our simple steps. Whether you’re new or have experience, we’ll show you the basics and advanced techniques. You’ll learn how to make beautiful treats.
Basic Techniques for Beginners
First, learn the basics of cookie decorating. Start with outlining and flooding. Use the ‘count to 3’ trick for even icing lines.
Try simple designs with dots, lines, and shapes. This will let you show off your creativity.
For a more advanced look, use the wet-on-wet technique. This blends colors smoothly. Layering icing adds depth to your cookies. You can also use royal icing transfers for detailed patterns.
Advanced Design Methods
Once you’ve mastered the basics, try more complex methods. Use airbrushing for a professional finish. Stenciling adds elegance with precise patterns.
For a special touch, use molded fondant or modeling chocolate. These techniques will elevate your cookies, showing off your skills.
Remember, practice, patience, and creativity are key. Enjoy the process and let your imagination guide your cookie decorating.
Seasonal and Holiday Cookie Decorating Ideas
Make your cookie decorating special with seasonal and holiday themes. Celebrate with Christmas cookies, spooky Halloween designs, or magical Easter decorations. A dedicated cookie decorating kit can make your celebrations unforgettable.
For the holidays, use classic shapes like trees, stars, and snowflakes. Decorate them with bright colors and lots of sprinkles. Halloween kits can have pumpkins, ghosts, and bats. Easter designs might include eggs, bunnies, and flowers.
Each kit comes with inspiration cards for simple yet beautiful designs. Let your creativity flow as you turn plain cookies into art. With the right tools and a bit of holiday spirit, your cookies will wow everyone. They’ll create memories and delicious treats to enjoy together.

