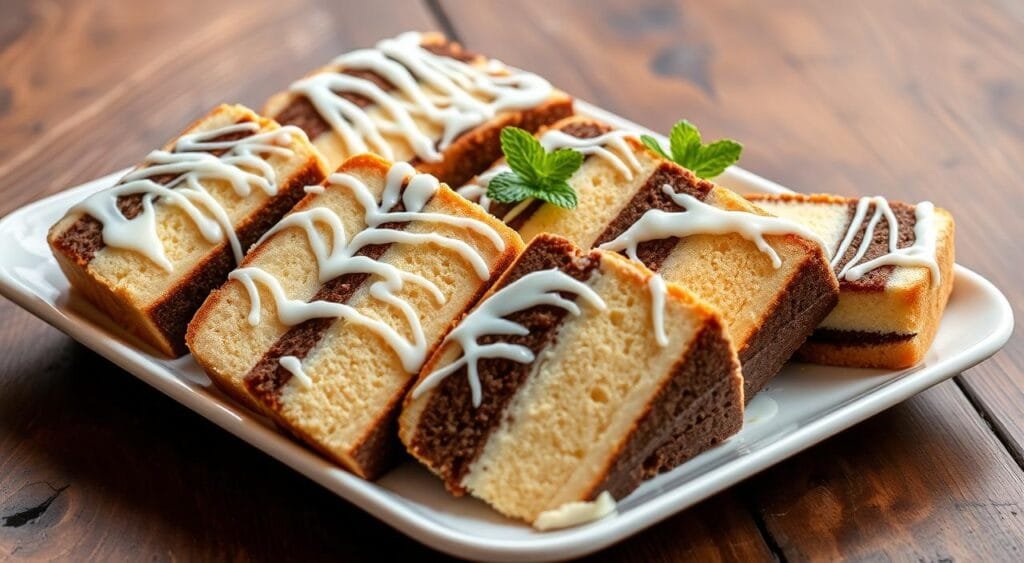
Growing up, Little Debbie Zebra Cakes were a favorite treat. They brought joy and nostalgia. The mix of chocolate and white chocolate, with a fluffy cake and filling, was amazing.
Now, you can make these treats at home. You can make them your own, with your favorite flavors and sizes. Plus, you can make 16 servings, more than store-bought ones.
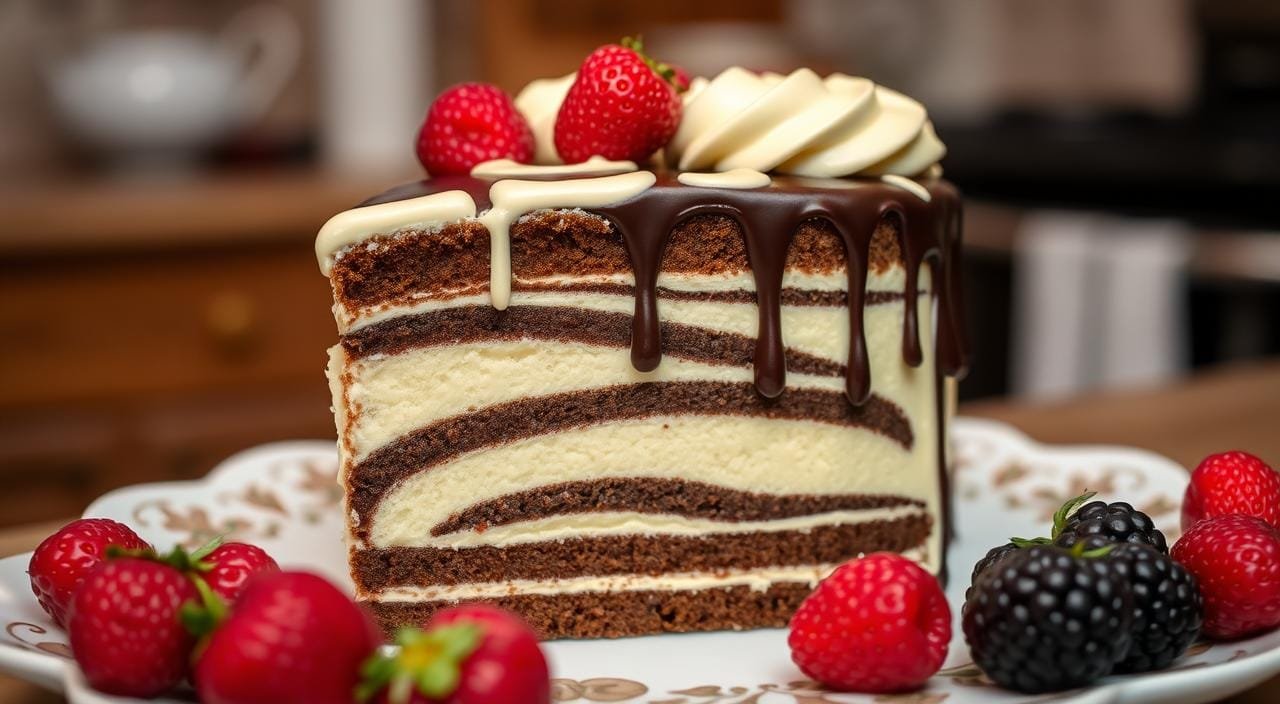
These zebra cakes are perfect for anyone who loves sweet treats. They have a moist cake, fluffy filling, and a white chocolate coating with chocolate stripes. Making them at home is a fun way to enjoy a classic dessert.
Understanding the Classic Zebra Cakes Legacy

For over 60 years, Little Debbie’s Zebra Cakes have been a favorite among kids. These treats, filled with cream and covered in chocolate stripes, are a classic. Their unique zebra-like pattern makes them a hit, offering a tasty and fun dessert.
The History of Little Debbie’s Iconic Snack
Little Debbie is a well-known brand in the United States. Their Zebra Cakes stand out for quality and creativity. The creamy filling and rich chocolate icing make them a favorite for many.
Why These Treats Became Childhood Favorites
The Zebra Cake’s look and taste have won hearts. The mix of soft cake, creamy filling, and chocolate icing is irresistible. These classic treats remind us of happy times and sharing with loved ones.
Essential Ingredients for Homemade Zebra Cakes

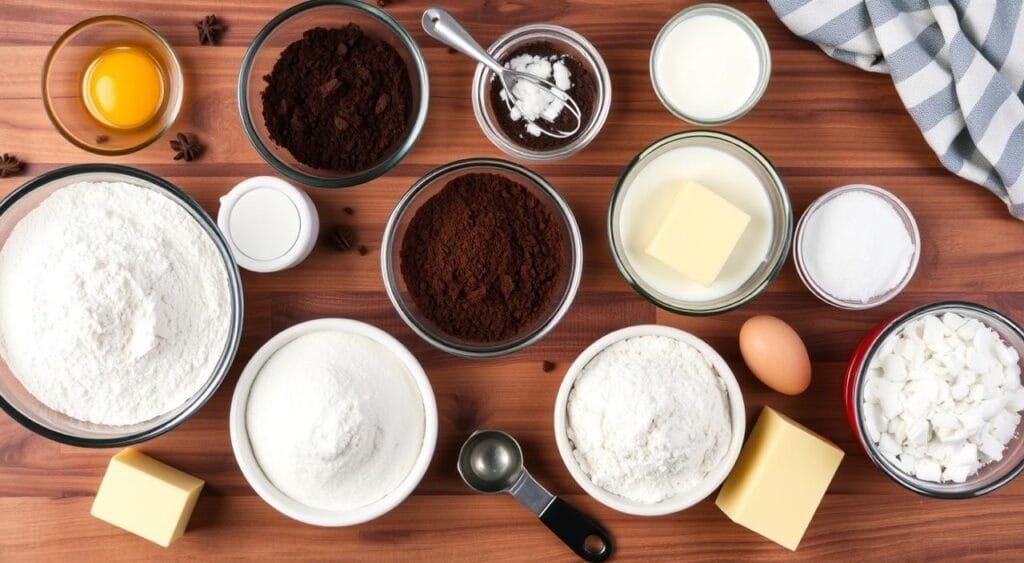
Making delicious zebra cakes at home needs the right ingredients. You’ll need a good cake ingredients mix, like vanilla, corn starch, sugar, eggs, and sour cream. For the creamy filling, use marshmallow creme, butter, and powdered sugar. The white chocolate coating comes from almond bark and chocolate.
Using room-temperature ingredients is key for the best taste and texture. This makes mixing easier and ensures everything blends well. You can also make these treats gluten-free or vegan by swapping out some ingredients.
With the right cake ingredients, cream filling, and white chocolate coating, you’re set to make amazing zebra cakes. Prepare to impress your loved ones with this classic favorite!
Kitchen Tools and Equipment Needed
Baking zebra cakes at home needs a few important baking tools and cake pans. Start with two half-sheet pans, 18×13 inches. Line them with parchment paper for easy cake release. A stand mixer or hand-held mixer is key for whipping the batter and filling.
Baking Pans and Measurements
Getting the measurements right is key for zebra cakes. Use a 2.5-inch circle cookie cutter or biscuit cutter for even shapes. A serrated knife is great for slicing the cooled cake layers into discs. For the filling, a piping bag with a large round tip works best.
Special Tools for Professional Results
For a glossy, professional coating, you’ll need a wire rack and microwave-safe bowls for melting chocolate. A candy thermometer helps temper the coating to the right temperature. With the right baking tools and equipment, you’ll make stunning zebra cakes at home.
Cookie Cutters and Coating Equipment
For the final step, use cookie cutters to shape the zebra cakes. Use coating equipment like a ladle or spatula for even chocolate coating. With some care and the right tools, you’ll make delightful homemade zebra cakes that impress everyone.
Making the Perfect Cake Base
Creating a moist and flavorful cake batter is key for tasty homemade zebra cakes. The recipe uses a doctored cake mix. This mix adds extra ingredients to improve the homemade cake base‘s texture and taste.
Begin by mixing 150 grams of all-purpose flour, 1 tablespoon of baking powder, 1/8 teaspoon of salt, and 1/2 cup of granulated sugar in a large bowl. Whisk until well-combined. Next, melt 1/2 cup of plant-based butter, like Country Crock’s butter or Miyokos Creamery, with 1/2 cup of milk, such as almond or dairy milk.
Mix the wet ingredients into the dry ones gently. This ensures a smooth, lump-free cake batter. Avoid overmixing to prevent a tough cake. Once ready, split the batter between two pans and bake at 350°F for 15-18 minutes. A toothpick should come out clean when inserted into the center.
Let the cakes cool completely before removing them from the pans. Freezing them for 30 minutes to an hour makes them easier to cut and assemble. This step helps create a firm, even base for your zebra cakes.
Creating the Signature Cream Filling
The secret to a perfect Zebra Cake is its cream filling. It’s made with marshmallow creme, butter, powdered sugar, and vanilla. Beating these ingredients for 5-8 minutes makes it light and fluffy.
Achieving the Right Consistency
Getting the cream filling just right is key. If it’s too thick, add heavy cream. If it’s too thin, add more powdered sugar. This way, it’s creamy and easy to spread.
Flavor Enhancement Tips
Want to make your cream filling even better? Try adding different flavor extracts or spices. A bit of buttercream essence or cinnamon can be a game-changer. Let your creativity guide you to find the perfect flavor.
“The secret to a truly exceptional Zebra Cake lies in the harmonious blend of the cream filling and the delicate cake layers. Get this balance right, and you’ll have a dessert that will leave your guests in awe.”
Mastering the cream filling is the first step to making amazing Zebra Cakes. Try new flavors and adjust the consistency. Let your creativity shine for a treat that everyone will love.
Learn more about homemade fishfood
White Chocolate Coating Techniques
To get that perfect chocolate coating on your homemade zebra cakes, you need the right stuff. Use melting wafers or almond bark with a bit of vegetable shortening. This combo gives you a smooth, shiny finish.
Begin by heating the white chocolate in the microwave. Heat it in 30-second bursts at 50% power, stirring each time. This slow heating prevents the chocolate from getting too hot or burnt. Once it’s melted and smooth, let it cool a bit before dipping your cake sandwiches.
To make your cakes look even better, save a bit of chocolate coating that’s still clean. After dipping the cakes, use this chocolate to draw a design on top. It adds a nice contrast to the white base.
With a bit of practice, you’ll get really good at coating your zebra cakes. You’ll make a treat that will wow everyone you share it with.
Mastering the Zebra Stripe Design
To create the iconic zebra stripe pattern on your homemade cakes, you need a gentle touch and practice. Begin by melting high-quality dark chocolate or semi-sweet chocolate chips for the stripes. Use a piping bag or a zip-top bag with a corner cut off to drizzle chocolate in arched lines on the cakes.
Chocolate Drizzling Methods
Put the chocolate stripes on right after coating the cakes for a smooth look. Or, wait for the first coat to dry and then add the chocolate drizzle for clear lines. Try different methods to get the look you want, like thick, thin, or zig-zag stripes.
Pattern Creation Tips
Getting the zebra stripe design right on your cakes takes patience and a steady hand. Use a toothpick or small spatula to guide the chocolate while drizzling. This helps keep the lines sharp and even. For extra flair, sprinkle cake decorating sugar or dust with cocoa powder over the stripes.
With practice and creativity, you’ll soon be decorating your zebra cakes like a pro.
Assembly and Layering Process
Making zebra cakes at home is a fun process. Start by cutting your cooled cake into even circles. Then, slice each circle in half to make two layers.
Next, use a piping bag to add a double layer of cream filling to one half. Place the other half on top and press gently. Freezing the cakes for 30-60 minutes helps them hold together better.
To get the zebra stripes, dip the cakes in white chocolate. Make sure the sides are covered before doing the top. After the chocolate hardens, use a fork or piping bag to drizzle dark chocolate in zigzags. Let it set before serving your cake assembly creations.
With a little practice, you’ll get great at layering and decorating cream-filled cakes. Your dessert will look amazing and impress everyone. Enjoy!
“The layering process is the most time-consuming part of making zebra cakes, but it’s worth the effort to achieve that iconic look and texture.” – Pastry Chef, Samantha Walters
Storage and Serving Recommendations
Storing your homemade zebra cakes right is key to keeping them fresh and tasty. Store them in an airtight container at room temperature for 3-4 days. If you want to keep them longer, freeze them for 1-2 months. Just wrap each cake in plastic wrap.
Shelf Life Tips
Unfrosted zebra cakes can stay fresh at room temperature for 1-2 days. Frosted ones will last 3-4 days in a sealed container. For longer storage, freeze them. They’ll stay delicious for 1-2 months if wrapped well.
Best Temperature for Serving
Serve your zebra cakes at room temperature for the best taste. This lets the cake storage and serving temperature enhance their flavor and texture. Let them sit at room temperature for about 30 minutes before serving.
“Zebra cakes are a timeless treat that bring a smile to any face. Serving them at the perfect temperature is the key to unlocking their full deliciousness.”
Troubleshooting Common Issues
Baking homemade Zebra Cakes can be a fun experience. But, sometimes, small problems can pop up. Don’t worry, we’ve got expert tips to help your cakes come out perfectly every time.
One common issue is a crumbly cake texture. To fix this, make sure to follow the mixing instructions carefully. Also, let the cake cool completely before touching it. If your cream filling is too runny, just beat it a bit longer or add a bit more powdered sugar.
Another problem is a thick white chocolate coating. This makes it hard to spread evenly. To solve this, add a little vegetable shortening to thin it out. This will give you a smooth, shiny finish. For clean cuts, wipe your cutter between uses and keep the cake cold before slicing.

