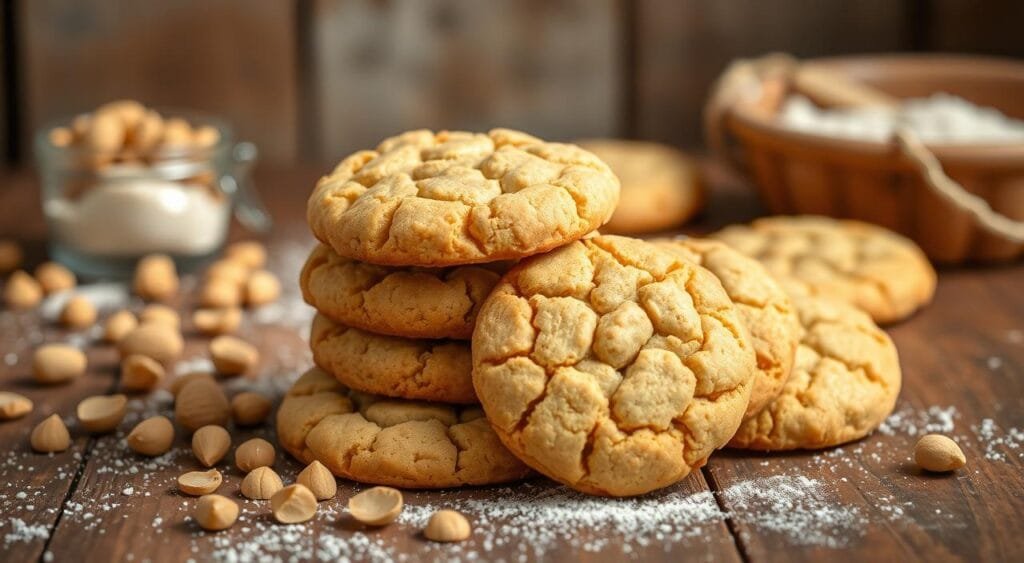
Imagine a world where you can enjoy peanut butter’s rich, nutty taste without gluten worries. This easy homemade gluten-free peanut biscuits recipe makes that dream real. These biscuits are perfect for a tasty snack or a special treat, making your taste buds happy and wanting more.
These biscuits are made with smooth peanut butter, butter, and a special gluten-free flour mix. They show how simple, good ingredients can make something amazing. You can make a batch in just 10 minutes of prep and 18 minutes of cooking. They’re a quick, gluten-free snack that everyone will love.
Understanding Gluten Free Peanut Biscuits

Imagine biting into a biscuit that’s both crisp and golden. It melts in your mouth, showing off its rich peanut butter flavor. These gluten-free peanut biscuits are perfect for those looking for gluten-free snacks or wheat-free desserts. They have a unique texture, like a cookie, with lots of peanut butter.
What Makes These Biscuits Special
The biscuits have a special crosshatch pattern on top. This pattern makes them look great and cook evenly. It also makes them crispy on the outside, adding to the fun of plant-based baking.
Benefits of Homemade Gluten Free Treats
When you make these biscuits at home, you control what goes into them. This means they fit your dietary needs perfectly. Making your own gluten-free snacks lets you avoid additives found in store-bought treats. Plus, it’s rewarding to make something delicious from scratch.
Key Ingredients Overview
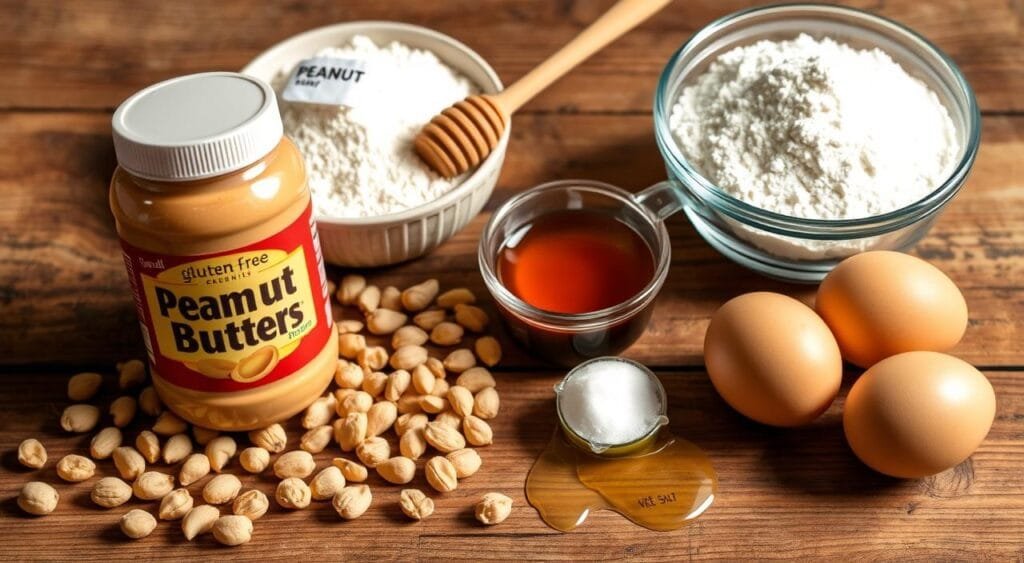
The biscuits use gluten-free flours, xanthan gum, baking soda, salt, and sugars. They also have eggs and vanilla extract. These ingredients come together to make a tasty biscuit that’s good for you and full of peanut butter flavor.
Essential Ingredients and Equipment

To make delicious nut butter biscuits, dairy-free sweets, and vegan biscuits, you need a few key items. You’ll need smooth no-stir peanut butter, unsalted butter (or a dairy-free option), and gluten-free flour. Also, xanthan gum, baking soda, kosher salt, and sugars are needed.
For the ingredients, you’ll also need eggs and vanilla extract. To make these treats, you’ll need a mixing bowl, a spoon, baking sheets, and parchment paper. A fork is also needed for the classic crosshatch pattern. A high-speed blender is optional for homemade peanut butter.
“Carefully measuring the ingredients and following the mixing technique is crucial for achieving the perfect texture and flavor in your nut butter biscuits.”
Ingredient Measurements
The recipe requires 100g of caster sugar and 100g of light brown sugar. You’ll also need 140g of butter (or a dairy-free option) and 160g of gluten-free flour. For the peanut butter, use 250g, and add 1 egg, 1/2 tsp of bicarbonate of soda, and 1/2 tsp of vanilla extract.
For an optional touch, add 1/4 tsp of xanthan gum. You can also add 75g of granulated sugar and 50g of chopped peanuts for extra flavor and texture.
To make these dairy-free sweets vegan, replace the egg with 3 tablespoons of aquafaba, egg replacement powder, or applesauce. Chia/flax seeds with water can also be used.
The Perfect Gluten Free Flour Blend Selection
Choosing the right flour blend is key when baking gluten-free peanut biscuits or wheat-free desserts. There are many great options available. For instance, Better Batter, Cup4Cup, and gfJules are all excellent choices for these gluten free peanut biscuits.
Recommended Flour Combinations
For the best results, mix gluten-free flours like rice flour, tapioca starch, and potato starch. This mix helps replicate the feel of wheat flour. Remember to measure your flours carefully to avoid dense cookies.
Why Xanthan Gum Matters
Xanthan gum is essential for binding and texture in gluten-free baking. If your flour doesn’t have xanthan gum, add about 1/2 teaspoon per cup of flour. This ensures your gluten free peanut biscuits turn out right.
Avoiding Common Flour Pitfalls
Avoid using Bob’s Red Mill 1:1 Gluten-Free Flour for cookies. It can make them crumbly. Choose one of the recommended blends for the best wheat-free desserts.
Choosing the Right Peanut Butter Type
When baking nut butter biscuits or other allergy-friendly treats, the peanut butter type matters a lot. For the best taste, pick a “no-stir” peanut butter like Jif or Skippy. These are both gluten-free. Stay away from natural peanut butters that separate and drip, as they can mess up your treats’ texture.
Looking for allergy-friendly options? Smooth almond butter, like Barney Butter, is a good choice. Sunbutter, made from sunflower seeds, is also great, but it might change your cookies’ color a bit.
“The type of peanut butter you use can make a world of difference in the texture and flavor of your nut butter biscuits.”
It’s key to pick a nut or seed butter that’s gluten-free and safe from cross-contamination. Big brands like Skippy, Jif, and Smart Balance are usually gluten-free. But, always check the labels to be sure.
Step-by-Step Mixing Technique
Making the perfect gluten free peanut biscuits needs a careful mixing method. Start by melting the peanut butter and butter together. Let it cool a bit before moving on. In another bowl, mix the dry ingredients, like gluten free peanut biscuits flour and more.
Proper Ingredient Temperature
Make sure the peanut butter and butter mix has cooled a bit before adding it to the dry ingredients. This avoids a greasy dough. For plant-based baking, vegan butter like Miyoko’s Kitchen or Melt brand works well.
Mixing Order and Tips
Make a well in the dry ingredients and add the cooled peanut butter mix, eggs, and vanilla. Mix gently until the dough is soft and not too oily. If it’s too greasy, chill it for 10 minutes before going on.
Achieving Perfect Dough Consistency
The secret to great gluten free peanut biscuits is the dough’s consistency. It should be soft and easy to shape, not dry or crumbly. If it’s too dry, add a bit of milk. If it’s too sticky, add more gluten free peanut biscuits flour.
“The secret to perfect gluten free peanut biscuits is in the mixing technique. Follow these steps closely, and you’ll be rewarded with deliciously soft and flavorful biscuits every time.”
Shaping and Decorating Your Biscuits
After mixing your nutty cookies and gluten-free snacks, it’s time to shape and decorate them. Start by scooping the dough into 2-tablespoon sized rounds. Then, gently press each one into a disk shape.
To create a charming crosshatch pattern, use a wet fork. Lightly press down, forming a criss-cross design.
For a sweet touch, dip your fork in sugar before pressing it onto the dough. You can also roll the dough balls in sugar before shaping. Just remember, if the dough gets crumbly from chilling, let it warm up to room temperature first.
“Decorating your gluten-free biscuits is a fun and creative way to add your personal touch to these delectable treats.”
The beauty of homemade nutty cookies and gluten-free snacks lies in the details. So, let your imagination run wild. Have fun experimenting with different shapes, patterns, and decorative touches. Your family and friends will be impressed by your handiwork and the delicious flavors you’ve created.
Baking Tips for Optimal Results
To bake the perfect gluten free peanut biscuits, pay close attention to detail. First, preheat your oven to 350°F (175°C). This ensures they bake evenly and turn golden brown.
Temperature and Timing Guidelines
Bake your gluten free peanut biscuits for about 15 minutes. Watch them closely, as they might need an extra 3 minutes for crunchiness. They’ll be soft when first taken out, so let them cool on the sheet for 5 minutes.
Signs of Perfect Doneness
Check if they’re done by their color. They should be pale golden all over. As they cool, they’ll get crisper. The goal is to bake them just right, balancing crunch and chewiness.
“Baking is both an art and a science, and with a few simple tips, you can achieve the perfect gluten free peanut biscuits every time.”
Storage and Shelf Life
After baking your gluten-free peanut biscuits, it’s crucial to store them right. This keeps them fresh and tasty. Store them in an airtight container at room temperature for up to a week. For longer storage, freeze them in a sealed container or bag for up to 3 months. Just thaw them at room temperature when you’re ready to eat.
Storing your gluten-free snacks and allergy-friendly treats properly is key. Moisture, temperature, and air can all impact their freshness. Follow these tips to keep your biscuits fresh and tasty for longer.
The cookies can be stored at room temperature for up to 5 days or in the fridge for up to two weeks. For longer periods, the cookies can be frozen without the need to defrost, maintaining their soft texture.
Whether you’re baking for immediate enjoyment or for later, proper storage is vital. With a bit of care, you can enjoy these allergy-friendly treats for weeks or even months.
Dietary Variations and Substitutions
Gluten-free baking is all about meeting different dietary needs. These vegan biscuits can be made to fit many preferences. You can make them dairy-free, egg-free, or nut-free with easy swaps. This way, everyone can enjoy them without losing out on taste or texture.
Dairy-Free Options
For dairy-free biscuits, swap the butter with vegan butter. Miyoko’s Kitchen or Melt are great choices. They offer a creamy feel without the dairy.
Egg-Free Alternatives
Need an egg-free version? Use a chia egg instead. Mix 1 tablespoon of chia seeds with 1 tablespoon of water. Let it sit for a few minutes until it thickens.
Nut Butter Substitutes
Got a peanut allergy? No worries! Use almond butter or Sunbutter (from sunflower seeds) instead. Sunbutter might turn blue-green due to baking soda, but it tastes great.
With these easy swaps, everyone can enjoy these vegan biscuits. Try different nut and seed butters to find your favorite.
Troubleshooting Common Issues
Making the perfect gluten free peanut biscuits can be tricky. But don’t worry, we’ve got tips to help. If your biscuits are crumbly, try cutting down the flour by 1-2 tablespoons. If the dough feels oily, chilling it before shaping can make it firmer.
Is your dough spreading too much in the oven? Chilling the dough before baking can fix this. Also, make sure all your ingredients are at room temperature. This ensures your biscuits turn out right.
Using natural peanut butter? Mix it well before measuring to avoid oily spots. This trick helps your dough stay even and prevents oily spots in your biscuits. With these tips, you’ll soon be baking up fluffy, golden gluten free peanut biscuits!

