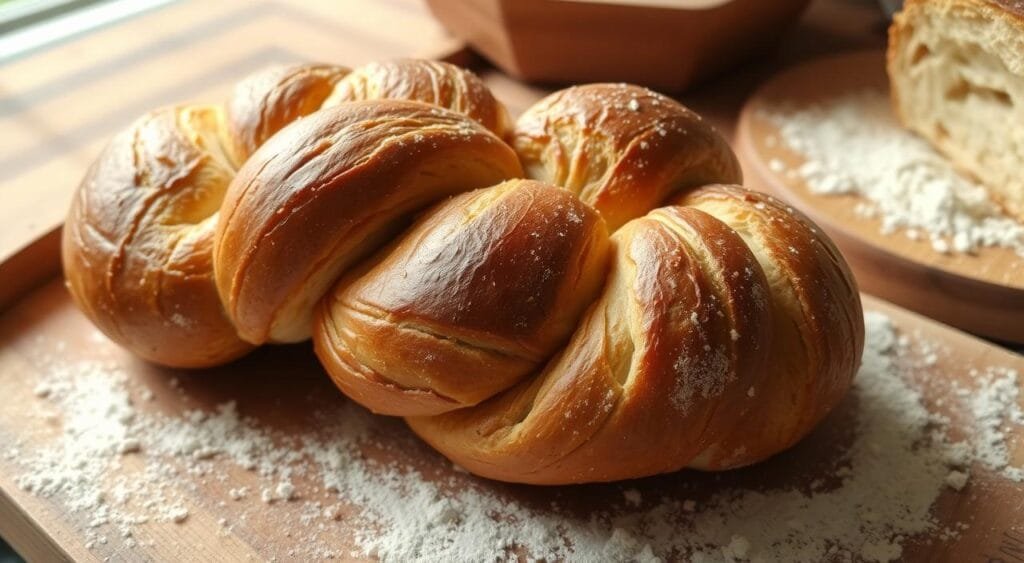
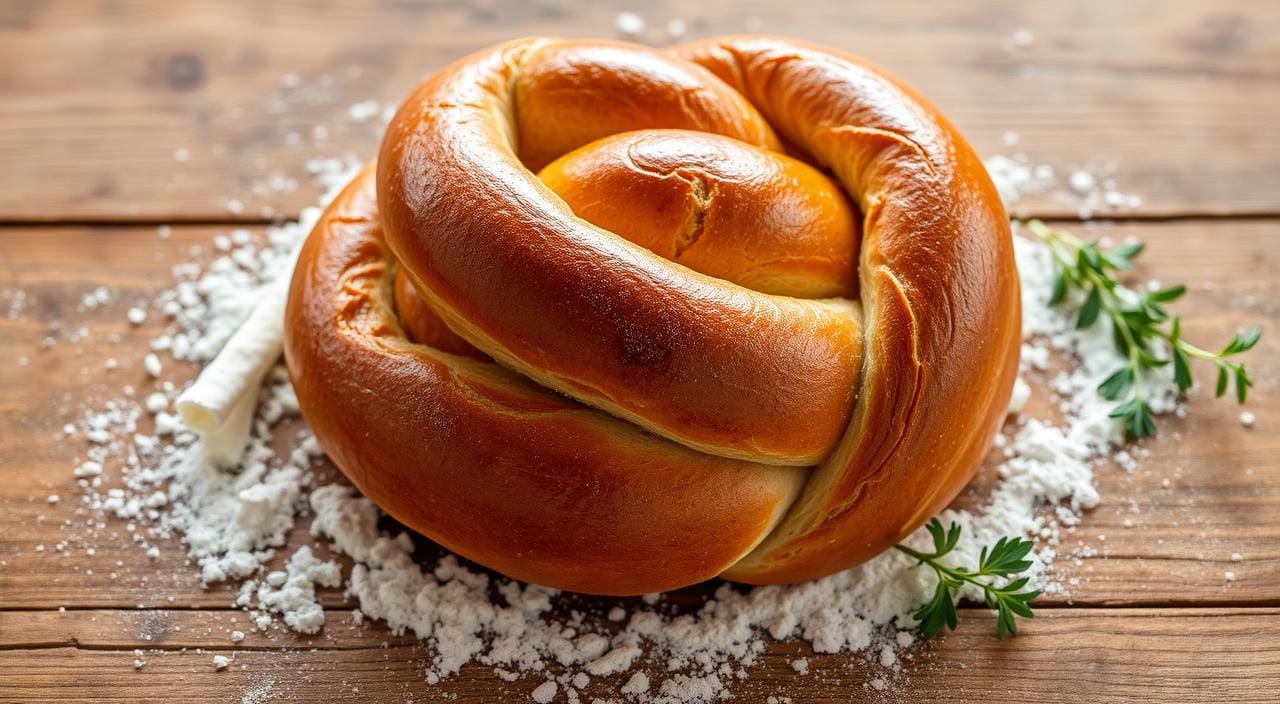
I still remember the day I found the loaf knot. It was a quiet afternoon, and I was reading an old bread book. That’s when I saw the Winston knot, a beautiful bread tie. It sparked a new love for bread tying and started my baking journey.
In this guide, I’ll teach you how to make a beautiful loaf knot. It’s a skill that will impress your loved ones and make your breads look elegant. Whether you’re experienced or new to baking, the dough knotting will excite and challenge you.
Let’s start our baking adventure together. We’ll learn the secrets of the loaf knot. Get ready to turn simple dough into a stunning centerpiece that will make any meal special.
Understanding the Basics of Bread Knotting

Making artisan bread starts with knowing the basics of bread knotting. Whether you’re experienced or new to bakery skills and bread crafting, learning the basics is key. We’ll cover the right dough types, essential tools, and how temperature and environment matter.
Types of Dough Suitable for Knotting
The dough you pick is very important for bread knotting. A full batch of braided bread dough, about 850g, works best. It’s heavy enough to make beautiful knots without ruining the loaf’s shape.
Essential Tools and Equipment
You’ll need some basic tools for bread knotting. A big mixing bowl, a wooden spoon or Danish dough whisk, and a floured work surface are must-haves. They make mixing, kneading, and shaping the dough easy.
Temperature and Environment Considerations
The temperature and environment affect your bread’s quality. Proofing should happen at room temperature. Baking needs a preheated oven at 240°C, gas mark 8. Keeping the right conditions is key for a perfect artisan bread loaf.
“Bread is the staff of life, and a good baker is a blessing to any community.”
Preparing Your Dough for the Perfect Loaf Knot

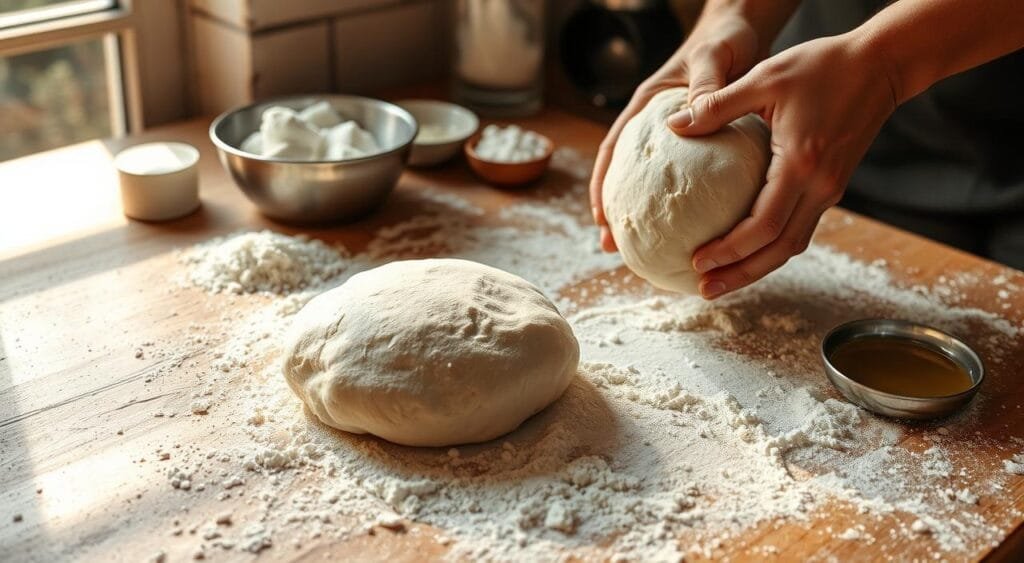
Making the perfect loaf knot starts with the right dough preparation. Begin by mixing water, olive oil, salt, and sugar in a big bowl. Then, add the bread dough flour and yeast slowly. Keep kneading until the dough is shiny, smooth, and elastic.
This kneading step is key. It builds the gluten structure, making the dough soft and easy to handle. Aim to knead for 10-12 minutes, either by hand or with a stand mixer.
When the dough is ready, it will pass the “windowpane test”. Stretch a small piece of dough and it should be thin and translucent without tearing. At this point, you’re set to move on to the next steps in making your loaf knot.
“The key to a perfect loaf knot lies in the dough preparation. Take the time to knead the dough thoroughly, and you’ll be rewarded with a beautifully shaped, delicious bread.”
The quality of your dough affects the final loaf knot. So, focus on the dough preparation and kneading techniques to get a flawless loaf knot.
Essential Ingredients and Measurements
Making the perfect loaf knot needs the right ingredients in the right amounts. Start with 500g of strong white bread flour for structure and texture. Add 5g of fast-action dried yeast for a good rise and proof.
Use 60g of unsalted butter and 40g of caster sugar for richness and sweetness. These ingredients make the bread delicious.
Flour Selection and Quality
Choosing the right bread ingredients is key. High-quality flour types are essential. Go for strong white bread flour for the best gluten and structure.
Yeast and Proofing Guidelines
Using the right yeast is crucial for a great rise and texture. Choose fast-action dried yeast. Proof it in warm water (95°F to 105°F) for 10 minutes until frothy. This makes sure the yeast is ready to work in the dough.
Additional Ingredients for Enhancement
To make your loaf knot even better, add some extras. A pinch of salt, about 7g, balances the sweetness. Eggs and full-fat milk add richness and a soft crumb.
“The secret to a beautiful loaf knot lies in the quality of your ingredients and the precision of your measurements.”
Mastering the Winston Knot Technique
Making a stunning loaf knot needs you to master the Winston knot technique. This pattern, used in bread shaping, weaves six dough strands into a knot. It’s all about keeping the dough face-up to get a neat knot.
Start by cutting your dough into six equal pieces. Make sure each piece is the same size and thickness. Place them in a grid, with three vertical and three horizontal strands. Then, weave the strands together to form the knot. Keep the tension even and handle the dough gently to keep it soft.
“The key to mastering the Winston knot is to work with a gentle touch and a keen eye for detail. By taking the time to perfect your technique, you’ll be rewarded with a stunning loaf that will impress your family and friends.”
Pay attention to the dough’s orientation as you weave. Keep the face-up side visible for a smooth, professional knot. With practice, you’ll make these beautiful Winston knot loaves with ease.
Dividing and Shaping the Dough Strands
To make a perfect loaf knot, start by dividing the dough into six equal parts. Each part should weigh about 140 grams. Roll each ball into a long, uniform log, about 60 cm (24 inches) long.
It’s important to shape and braid the dough evenly. This ensures your loaf looks great and tastes amazing.
Length and Thickness Requirements
The length and thickness of your dough strands matter a lot. Each strand should be about 60 cm (24 inches) long and the same thickness. This makes it easier to weave and shape the dough.
This way, your loaf will look beautiful and feel great to eat.
Surface Preparation Tips
Prep your work surface right to make shaping easier. Dust it lightly with flour so the dough doesn’t stick. You can also use a rolling pin to flatten and shape the dough evenly.
Be gentle when shaping the dough. Avoid over-working it to keep its structure and help it rise well. With a bit of practice, you’ll get the hang of it!
Creating the Basic Loaf Knot Pattern
Learning to make bread knots starts with the basic loaf knot pattern. This design makes your homemade bread look great and shows off your baking skills. Here’s how to make a perfect loaf knot:
Start by dividing your bread dough into six equal parts, each about 140g. Roll each part into a log that’s 60cm/24 inches long. Place the dough logs in a circle, making sure they’re all facing up.
Then, take the dough from the back and pass it under the next one, then over the next one. Keep doing this, turning the dough as you go. This will create the bread pattern. Keep the dough facing up to get a neat loaf design.
After you’ve finished knotting, put the dough in a greased loaf pan. Let it rest for 15-20 minutes. Then, bake at 210°C (420°F) for 25-30 minutes. The knotting technique should be golden, and the loaf should sound hollow when tapped.
By following these steps, you’ll make a beautiful loaf with a classic bread pattern. It’s sure to wow your family and friends. Try different loaf designs and knotting techniques to find your own style.
Advanced Weaving Techniques and Variations
Exploring bread weaving opens up a world of decorative bread and knotting variations. You can create intricate patterns and innovative designs. This lets you take your bread weaving to new levels.
Decorative Pattern Options
Bread weaving lets you make decorative bread with intricate knots. The Winston knot, for example, creates stunning, symmetrical patterns. These add visual interest and depth to your loaves.
Try different motifs, from simple geometric designs to complex, freeform layouts. Let your creativity shine through.
Troubleshooting Common Issues
When trying out knotting variations, you might face some challenges. Don’t worry! Learning bread weaving takes time and practice. It’s all part of the journey.
Be patient and don’t hesitate to solve any problems. With persistence and a willingness to learn, you’ll soon make beautiful, decorative bread.
Proofing and Baking Your Knotted Loaf
Artisan bread proofing and baking techniques are key for a perfect knotted loaf. After shaping, let it proof and then bake it to perfection.
Place your dough on a parchment-lined baking tray. Cover it with oiled clingfilm and let it rise in a warm place for about 90 minutes. This step is crucial for a light, airy crumb. Avoid over-proofing to prevent a collapsed loaf.
Preheat your oven to 200°C (400°F) with a fan once the dough has doubled. Transfer the loaf, still on parchment, onto a baking sheet. Proper scoring helps control expansion during baking. Bake for 30-35 minutes, reducing heat if the crust browns too fast.
The loaf should have a dark, domed crust with gentle curves. The internal temperature should be 190°F (88°C) for doneness. Let it cool completely before slicing to show off your artisan baking skills.
Success in making a knotted loaf comes from the proofing and baking. With practice and attention to detail, you’ll make stunning, artisan baked breads that wow everyone.
Adding Fillings and Flavor Enhancements
Make your homemade bread fillings and flavor combinations even better. Try a chocolate and cinnamon filling. It has dark chocolate chunks and a mix of muscovado sugar and cinnamon.
To add this filling, spread it on the dough before rolling it into a loaf knot. Make sure to seal the dough well to avoid leaks during baking. You’ll get a chocolatey and spicy treat in every bite.
There are many other bread fillings and flavor combinations to try. You can use fruit preserves, nuts, dried fruit, or even cheese and herbs. The goal is to mix flavors that match the softness of your loaf knot.
Baking is all about trying new things. So, don’t hesitate to experiment. Find your own special bread fillings and flavor combinations to make your sweet bread unforgettable.
Conclusion
Creating a beautiful homemade bread loaf knot takes patience and practice. It’s a journey where each loaf helps you get better.
Whether you’re new to baking or have lots of experience, the secret to success is knowing the basics. This includes choosing the right ingredients and how to shape and proof your dough. By following the steps and tips in this guide, you’ll make stunning and tasty loaf knots. They’ll surely impress your loved ones.
Don’t be shy to try new things like different flavors, patterns, and fillings. The world of bread making is full of possibilities. So, enjoy the process and have fun. With every successful loaf, you’ll feel more confident to try even more. Happy baking!

